This page is a quick summary of how we made our table, included are some photos and schematics for those interested in building their own.
If you missed our video of this table in action see it right here.
Click here to see our FaceBook Page, and like it to get daily updates of the newest posts in your newsfeed.
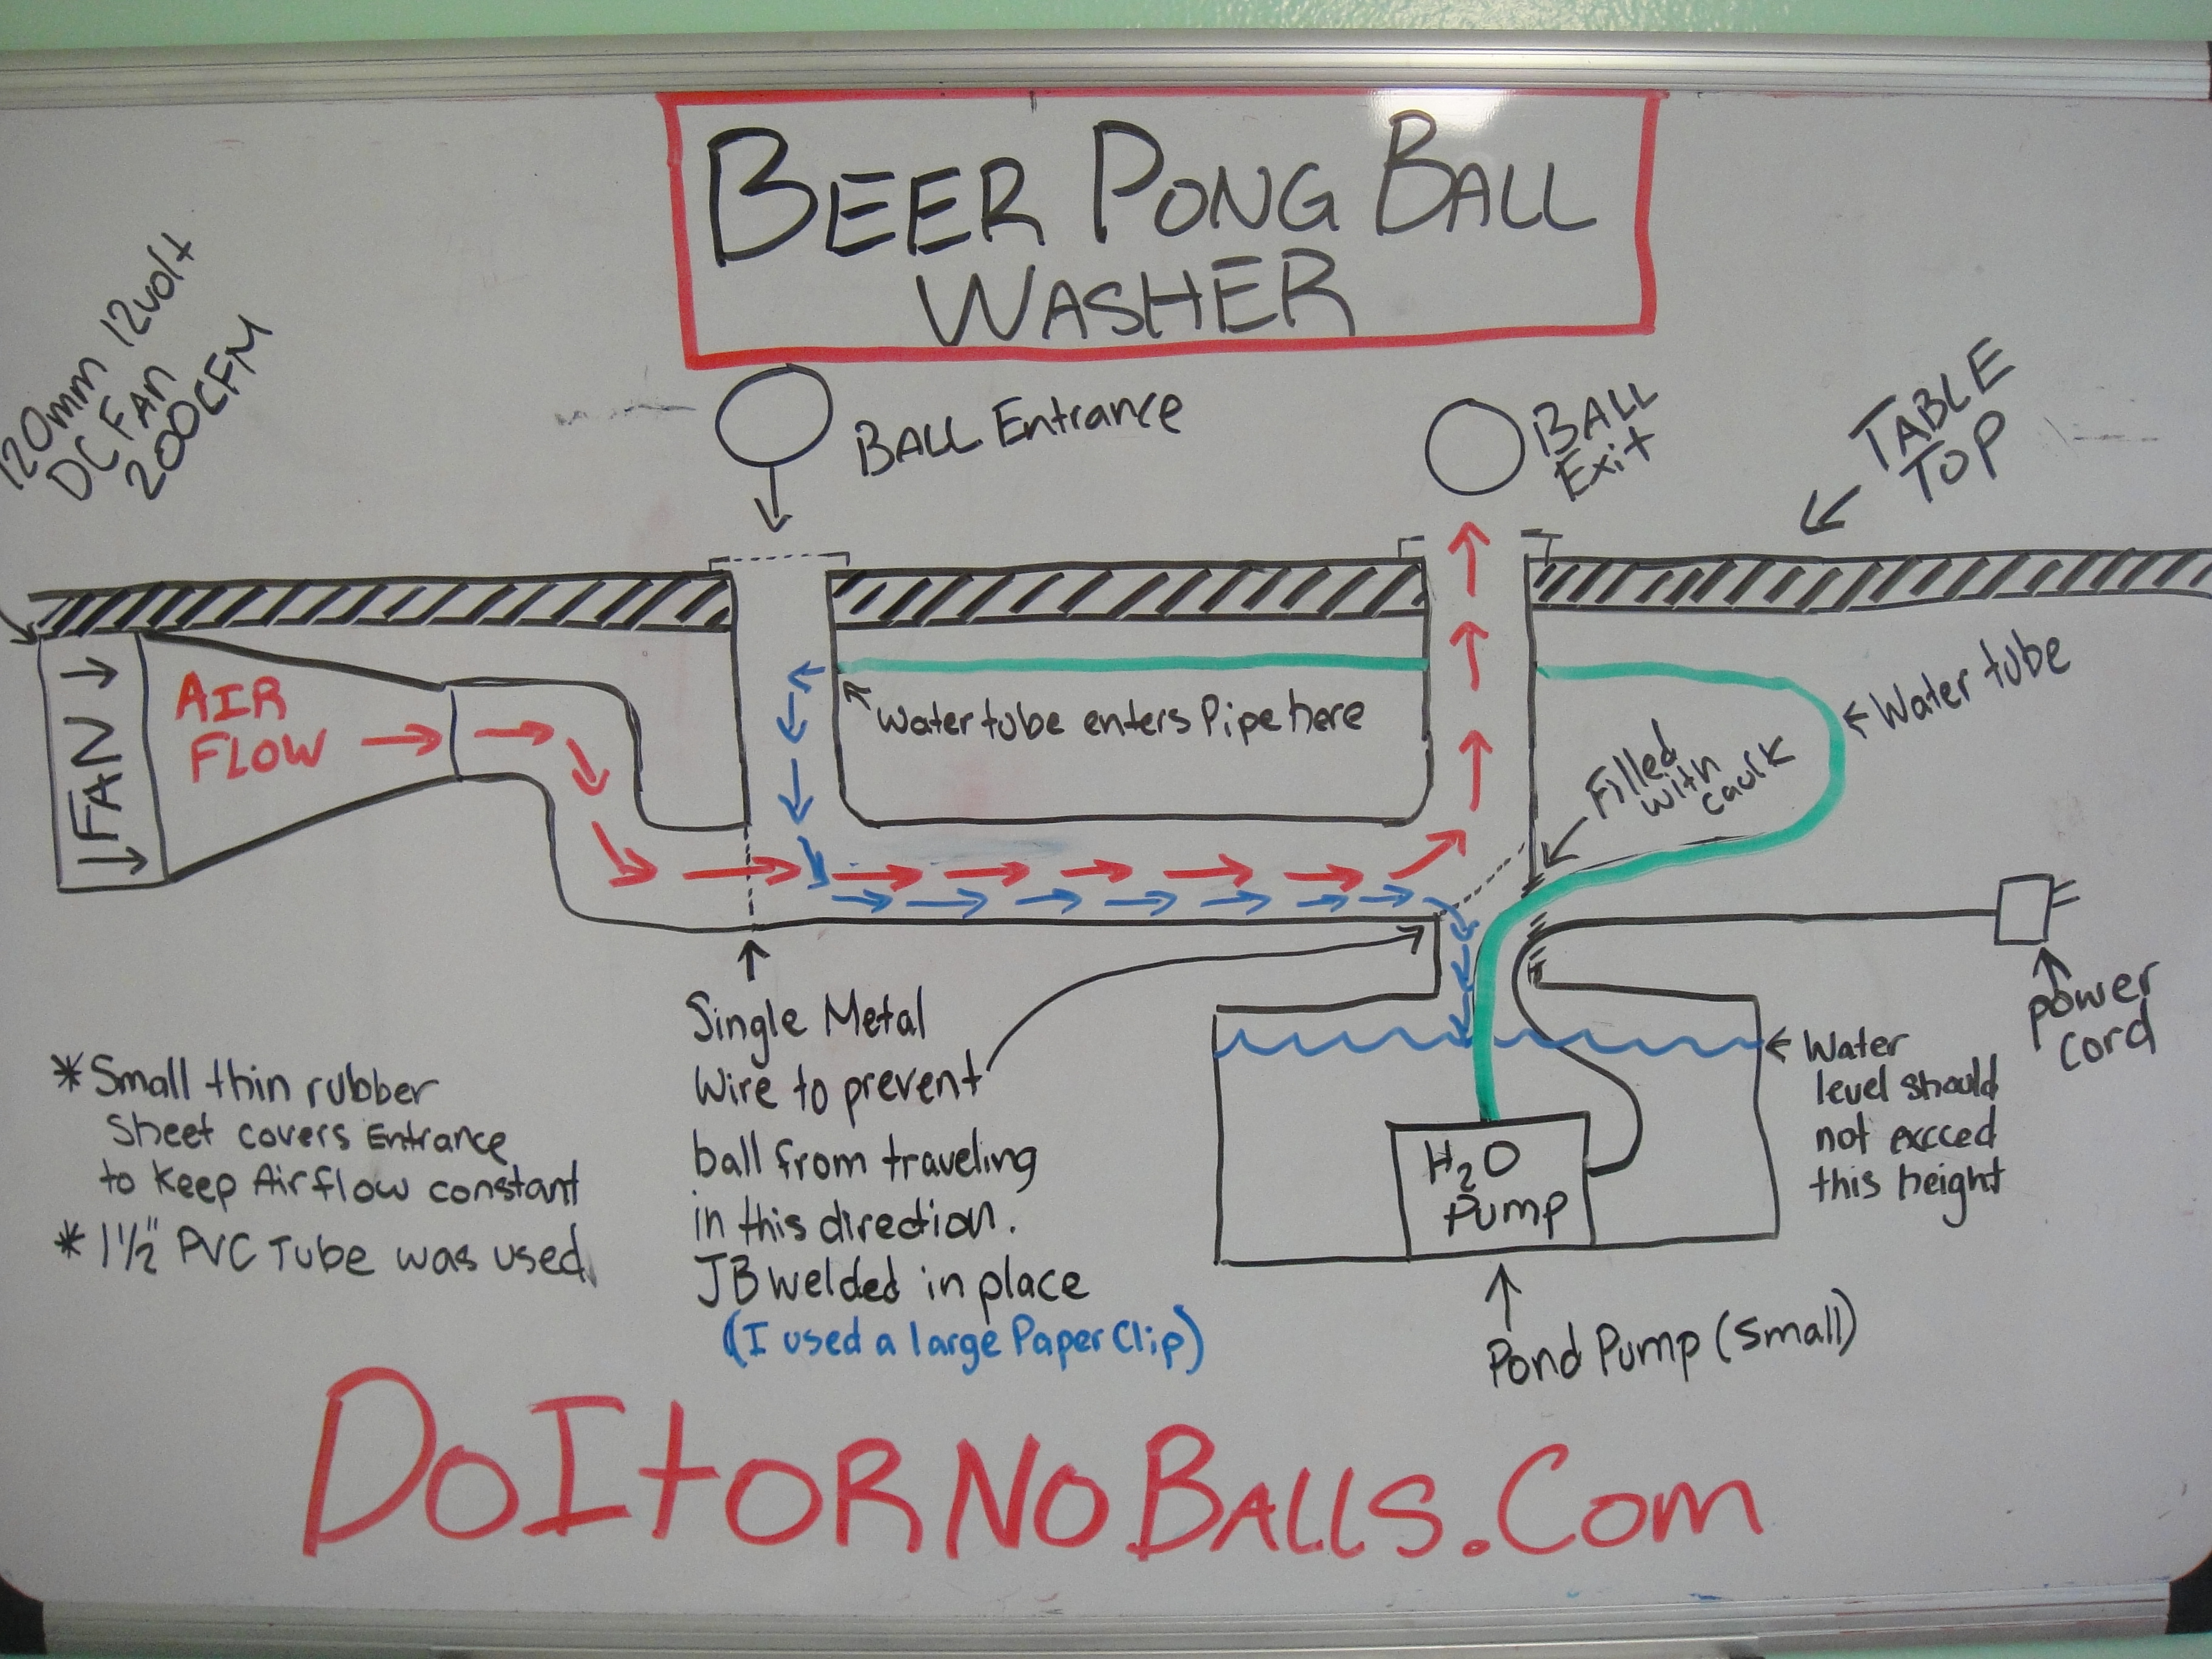
Here is a detailed diagram of how the automatic ball washing system works. The fan was bought off of Ebay, it is a DC 200cfm server case fan. The water pumps were purchased at Harbor Freight Tools, they are just regular pond pumps. All of the tubing is just regular 1.5″ PVC and ABS tubing from Home Depot.
This picture shows how the actual system looks under the table.
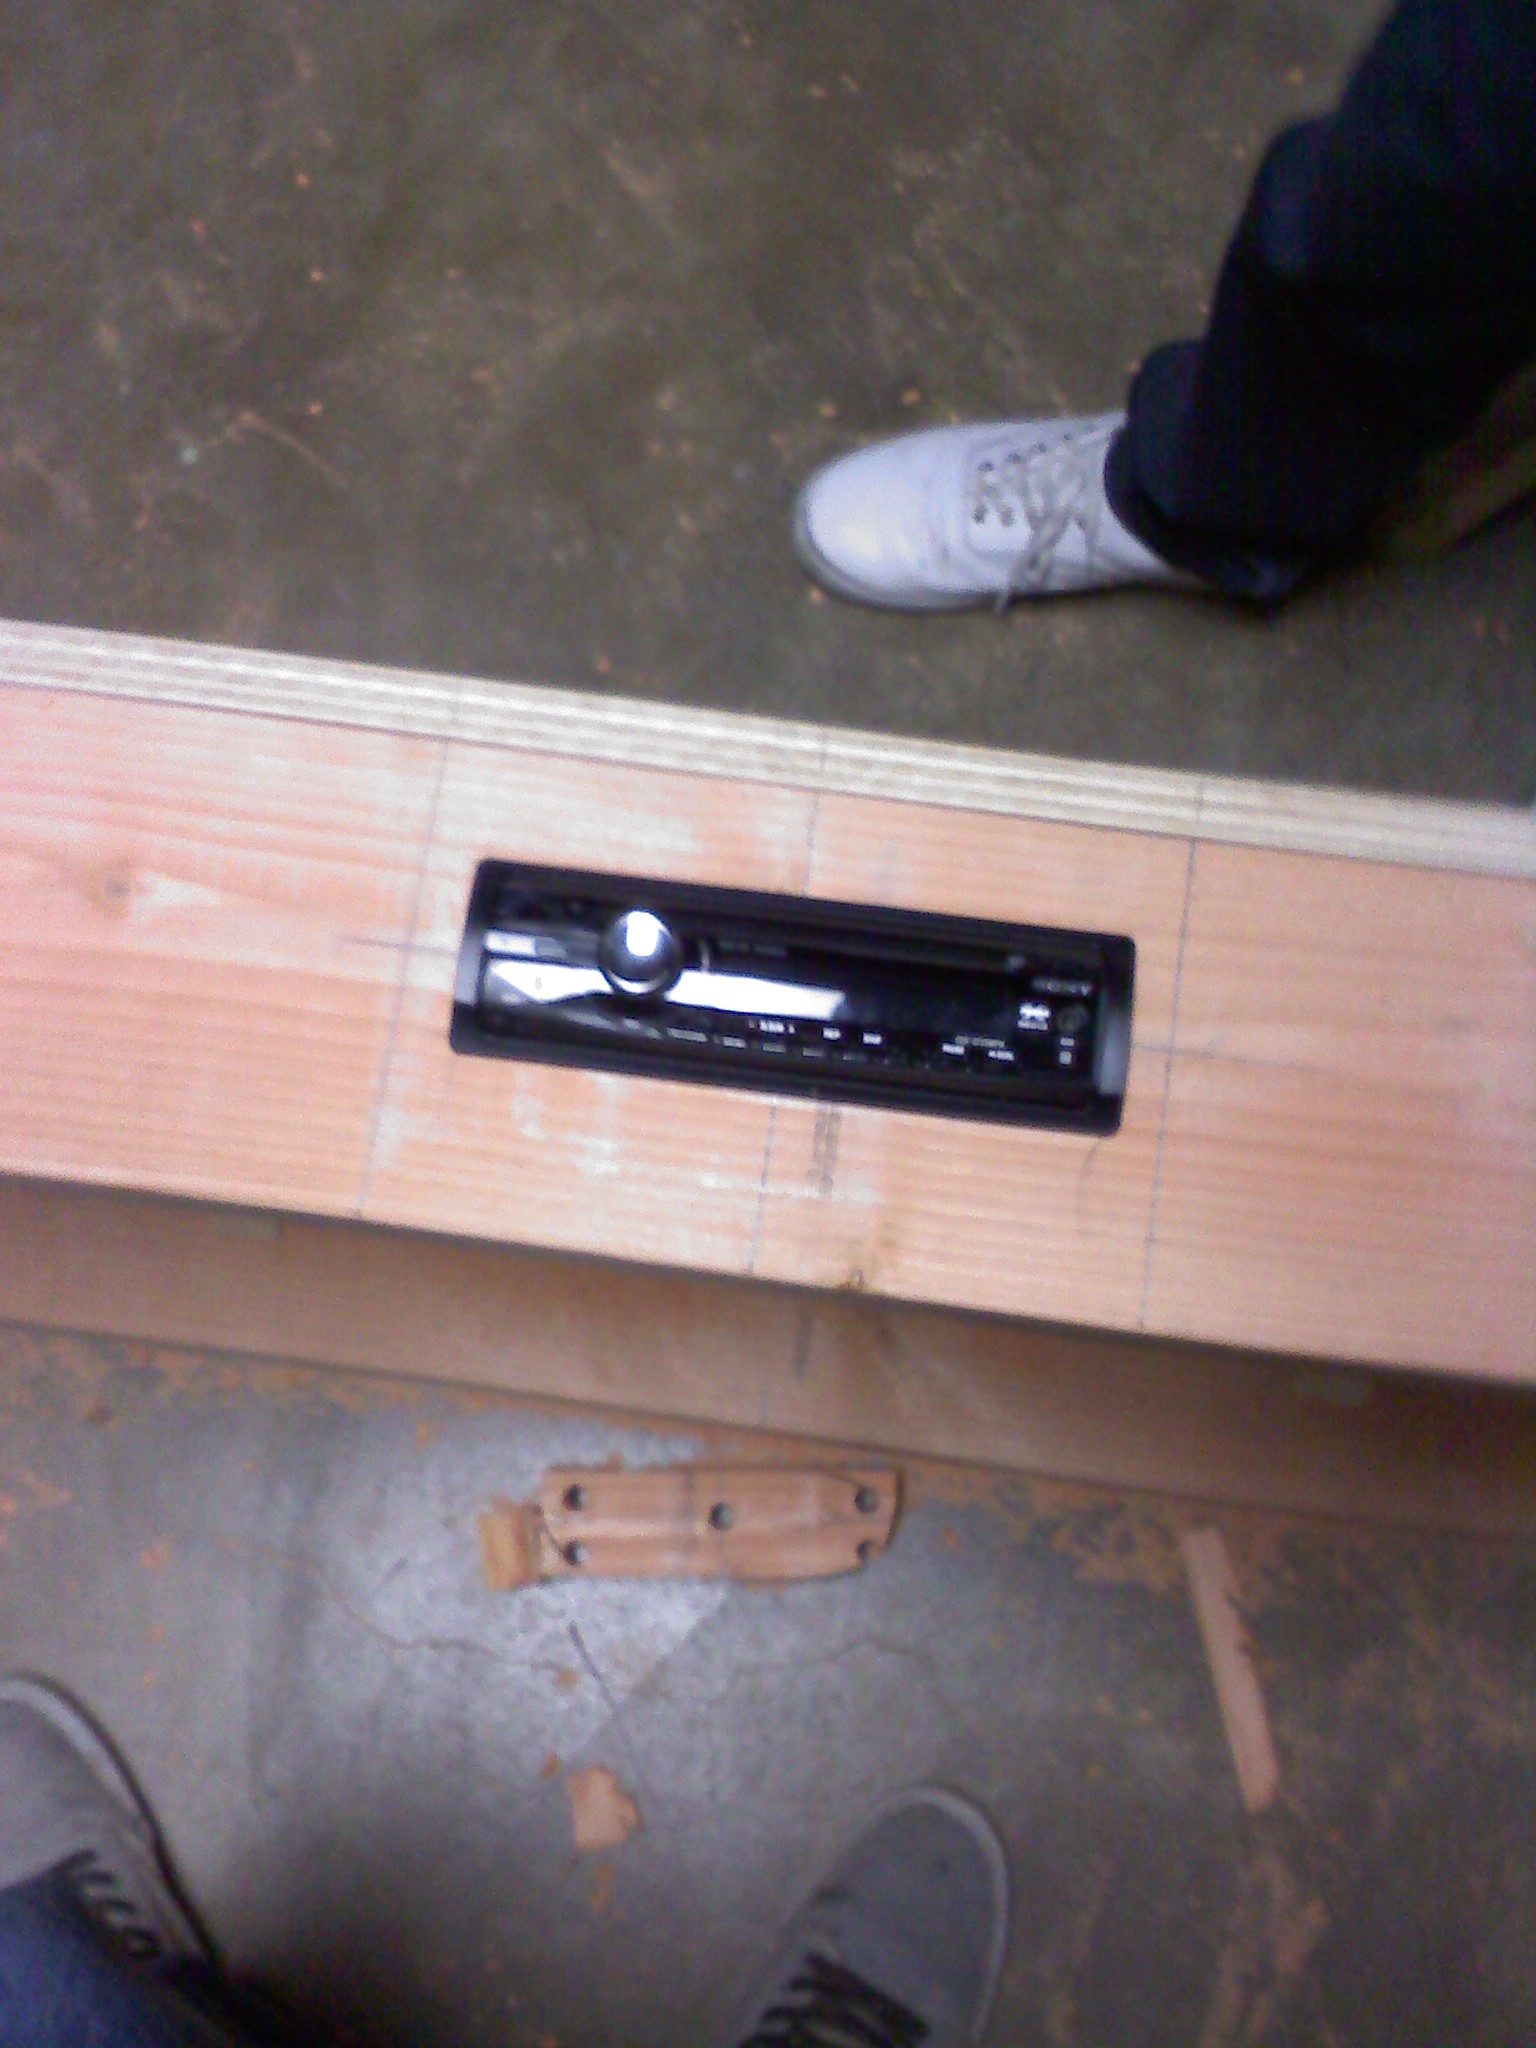
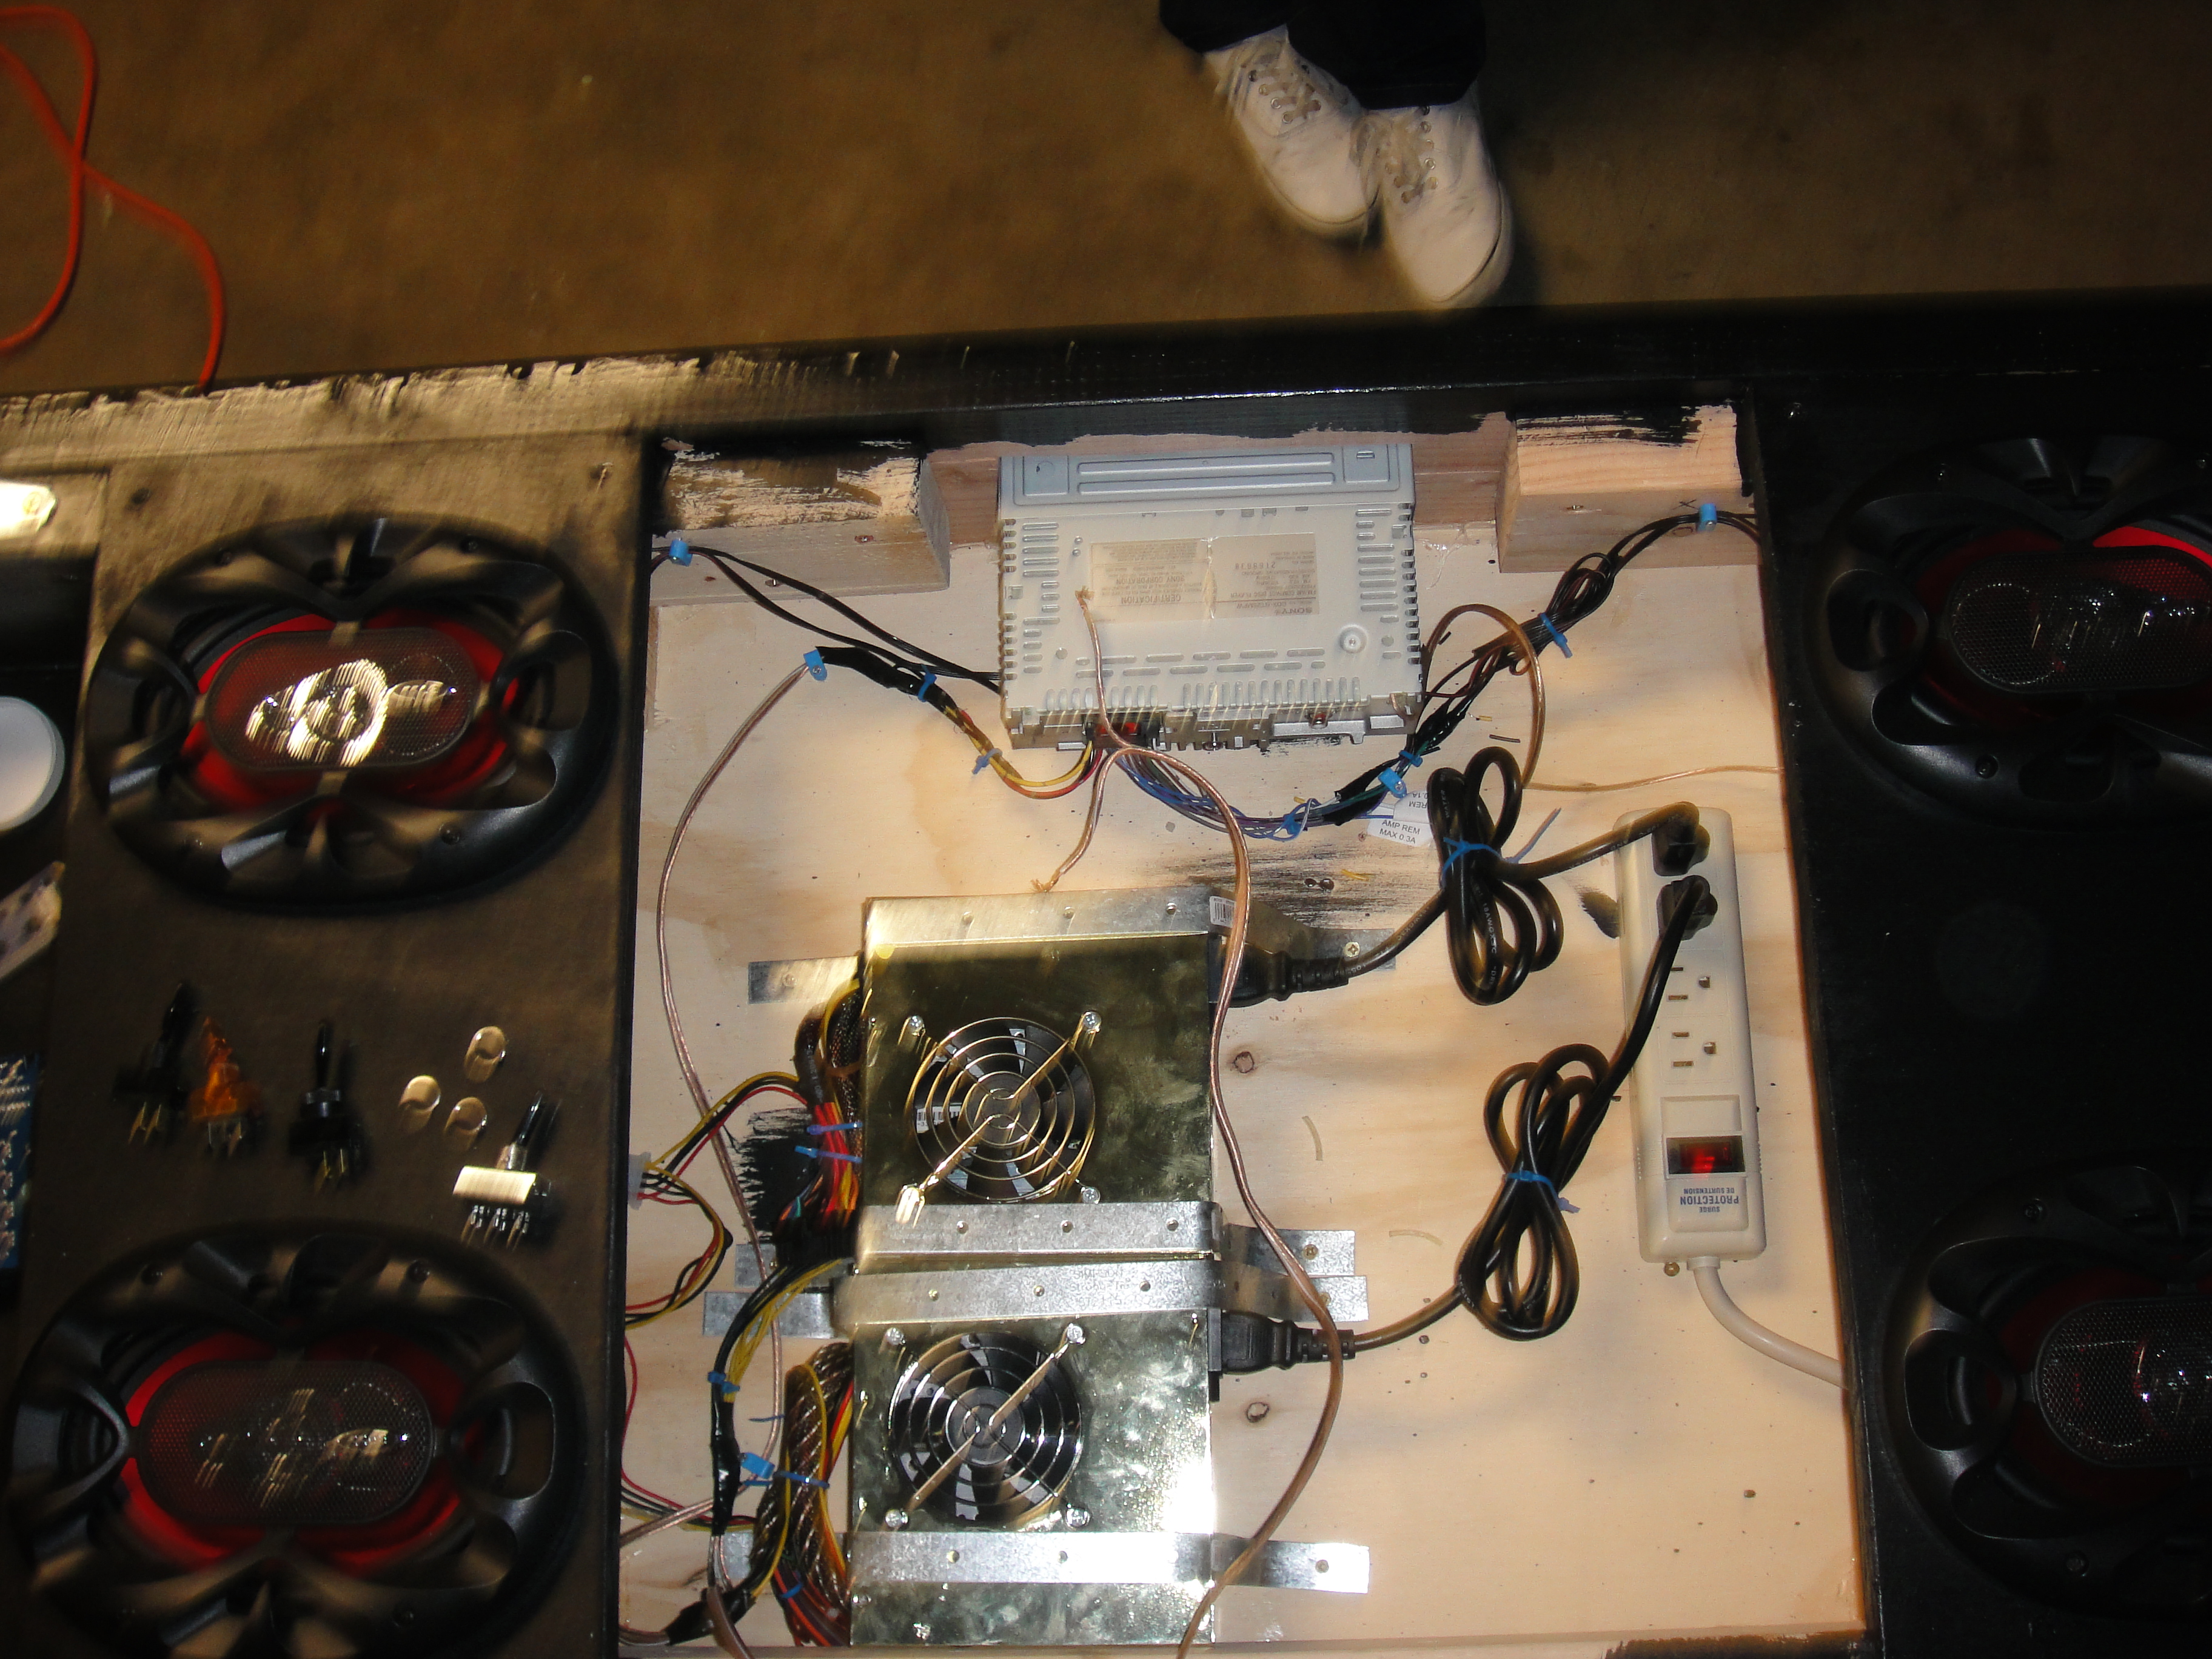
This is the Sony Head Unit that is used for the stereo in the table. It is a standard deck that would go in any car.
For the speakers, we decided to go with 5x7s because of size restraints, they are mounted to the bottom of the table as shown here. The legs on the table are collapsible as well. The hinges can be seen in many pictures.
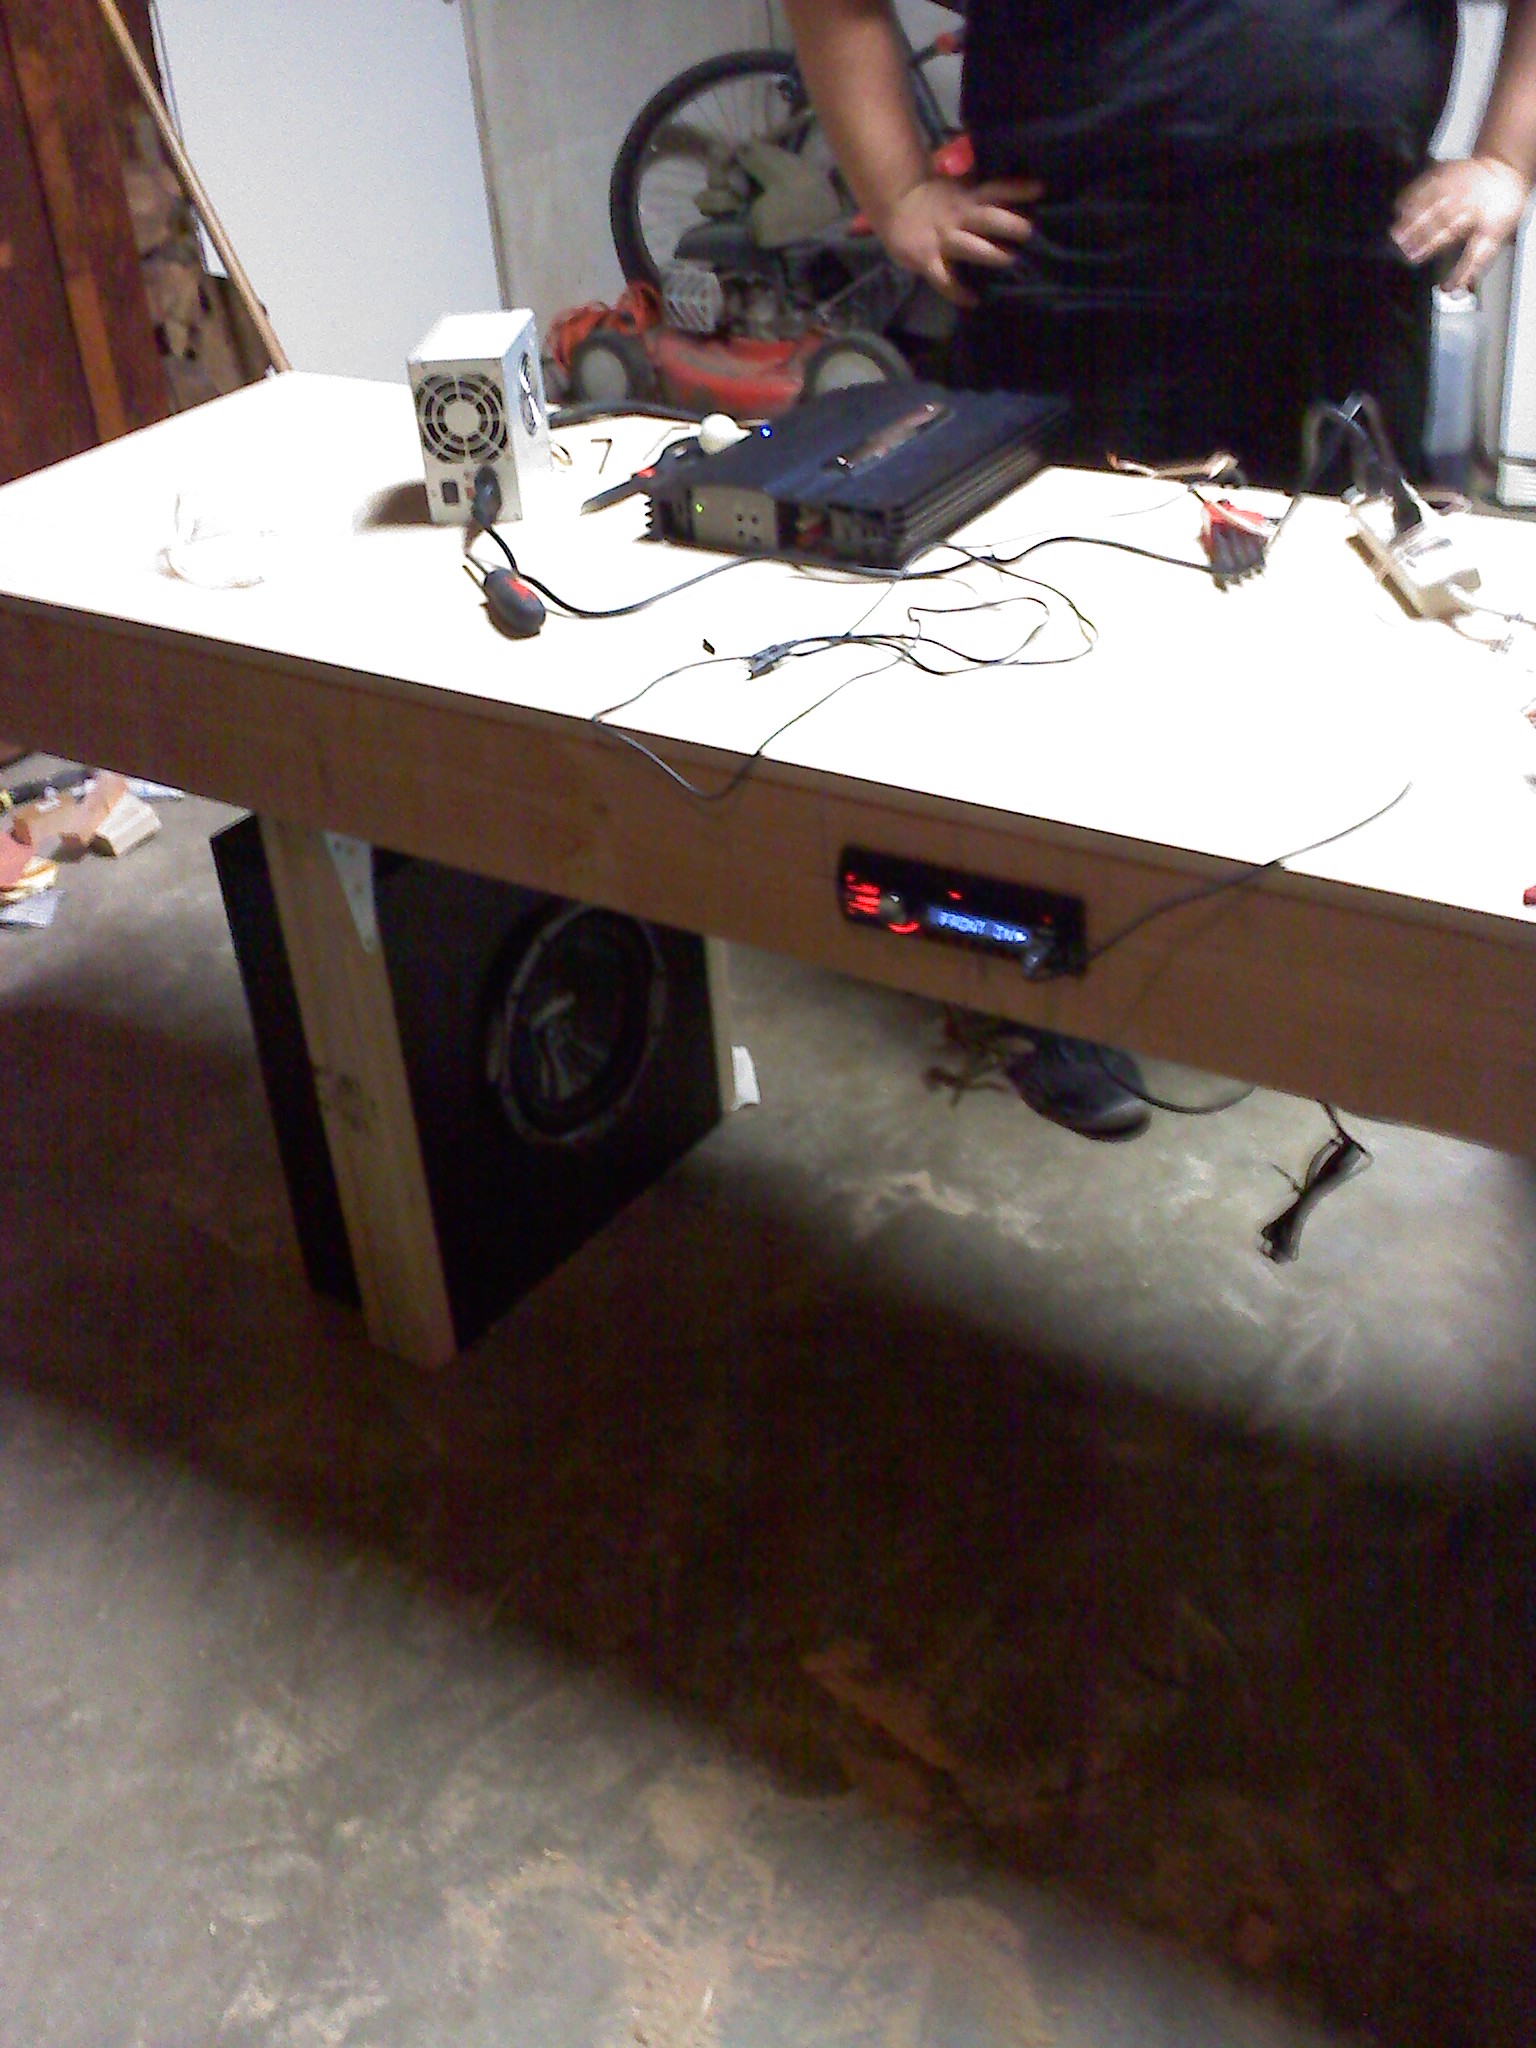
This is the first test of the new stereo and sub woofer. The amp powering the sub is a JVC 250 watt RMS unit.
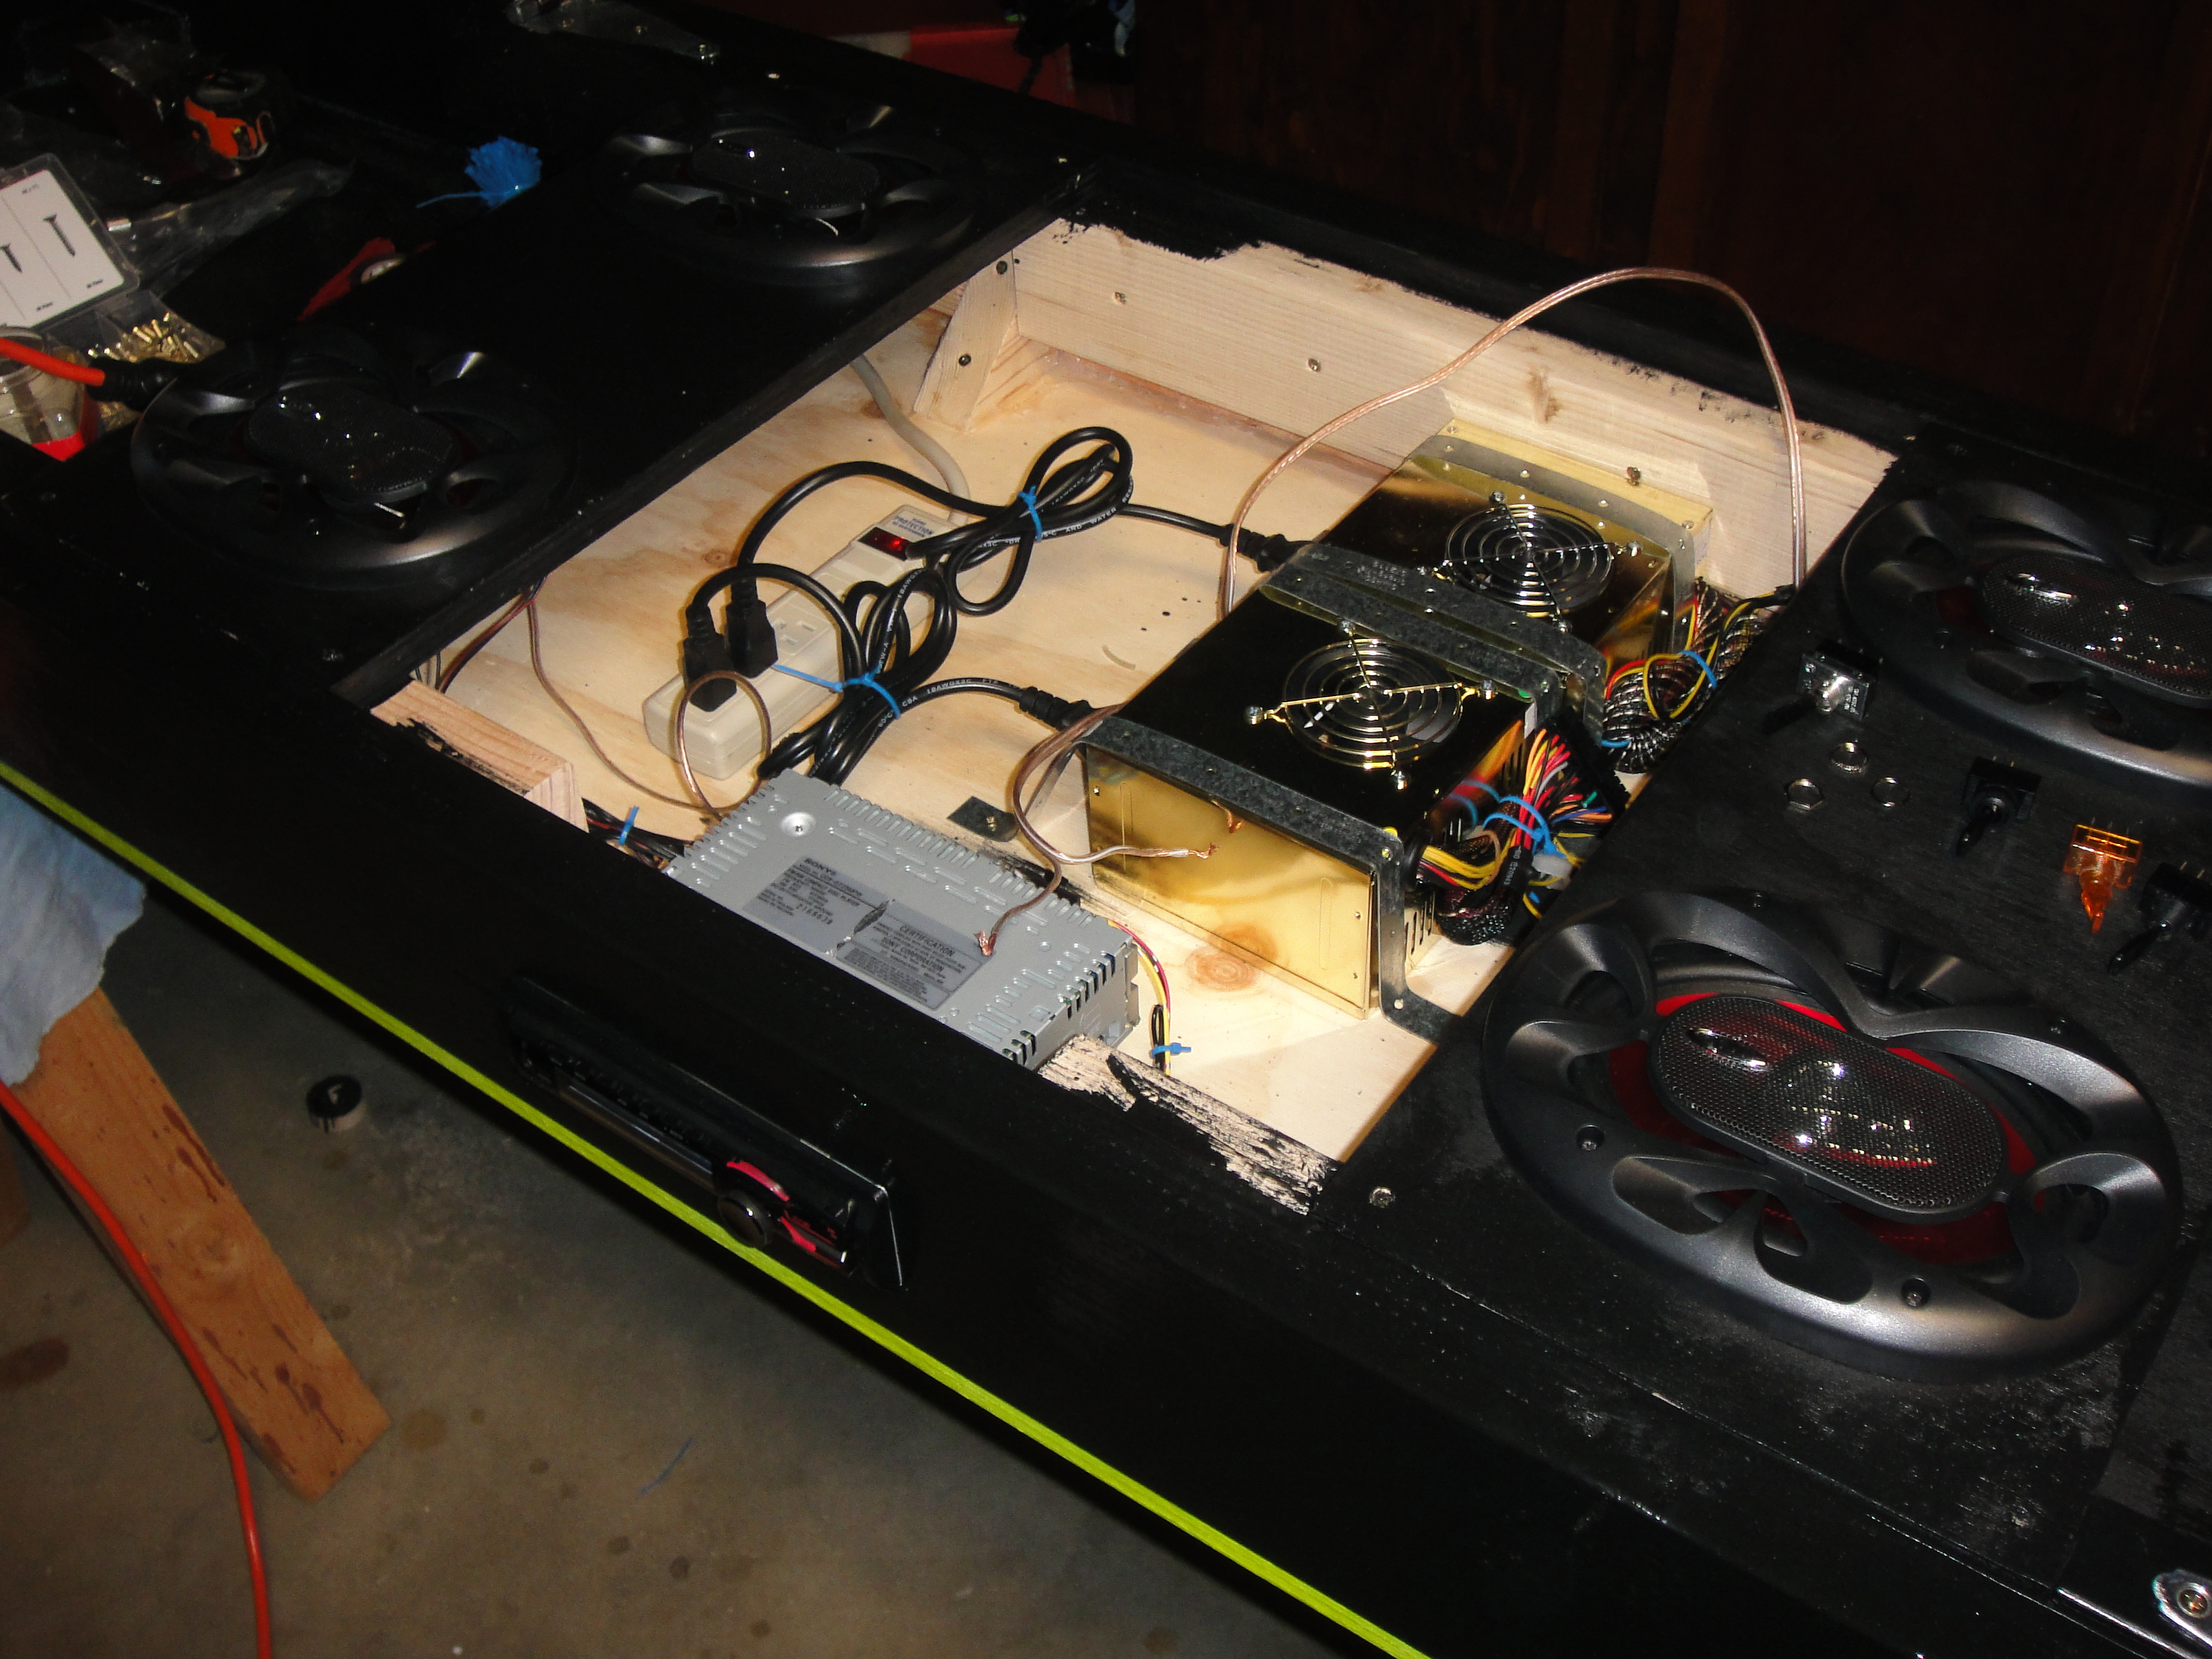
To power everything in the table, two 650 watt power supplys were purchased. The first powers the stereo, fans, and LED lights. The second powers the amp for the sub.
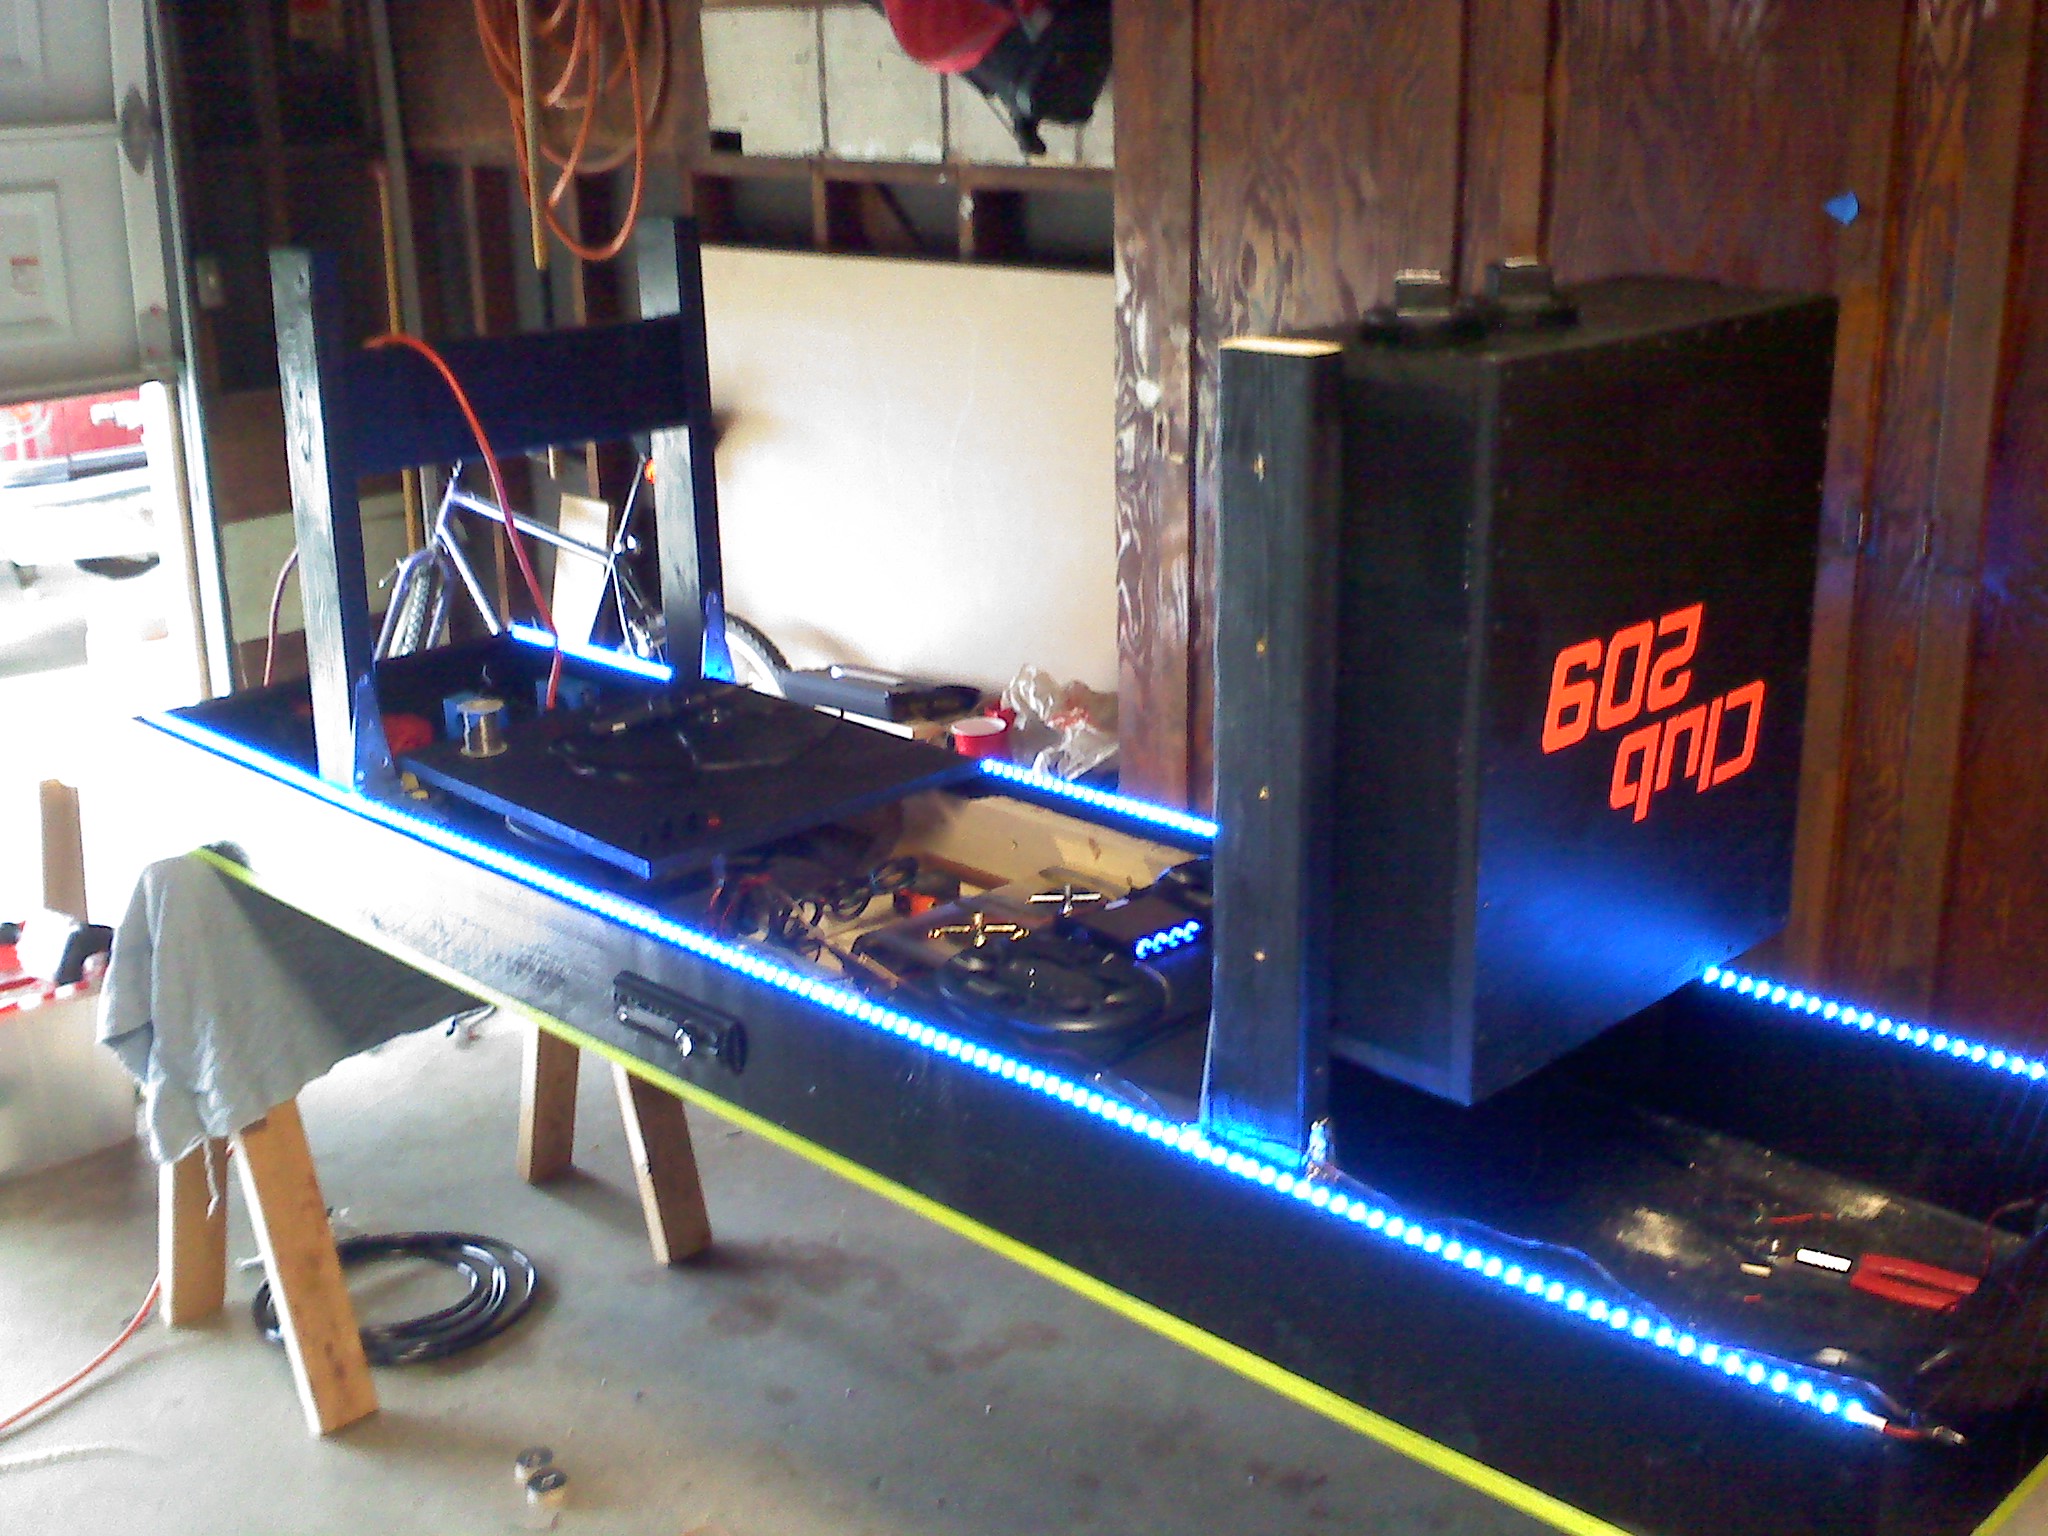
The LED lights are also waterproof, mounted to the underside of table as shown.
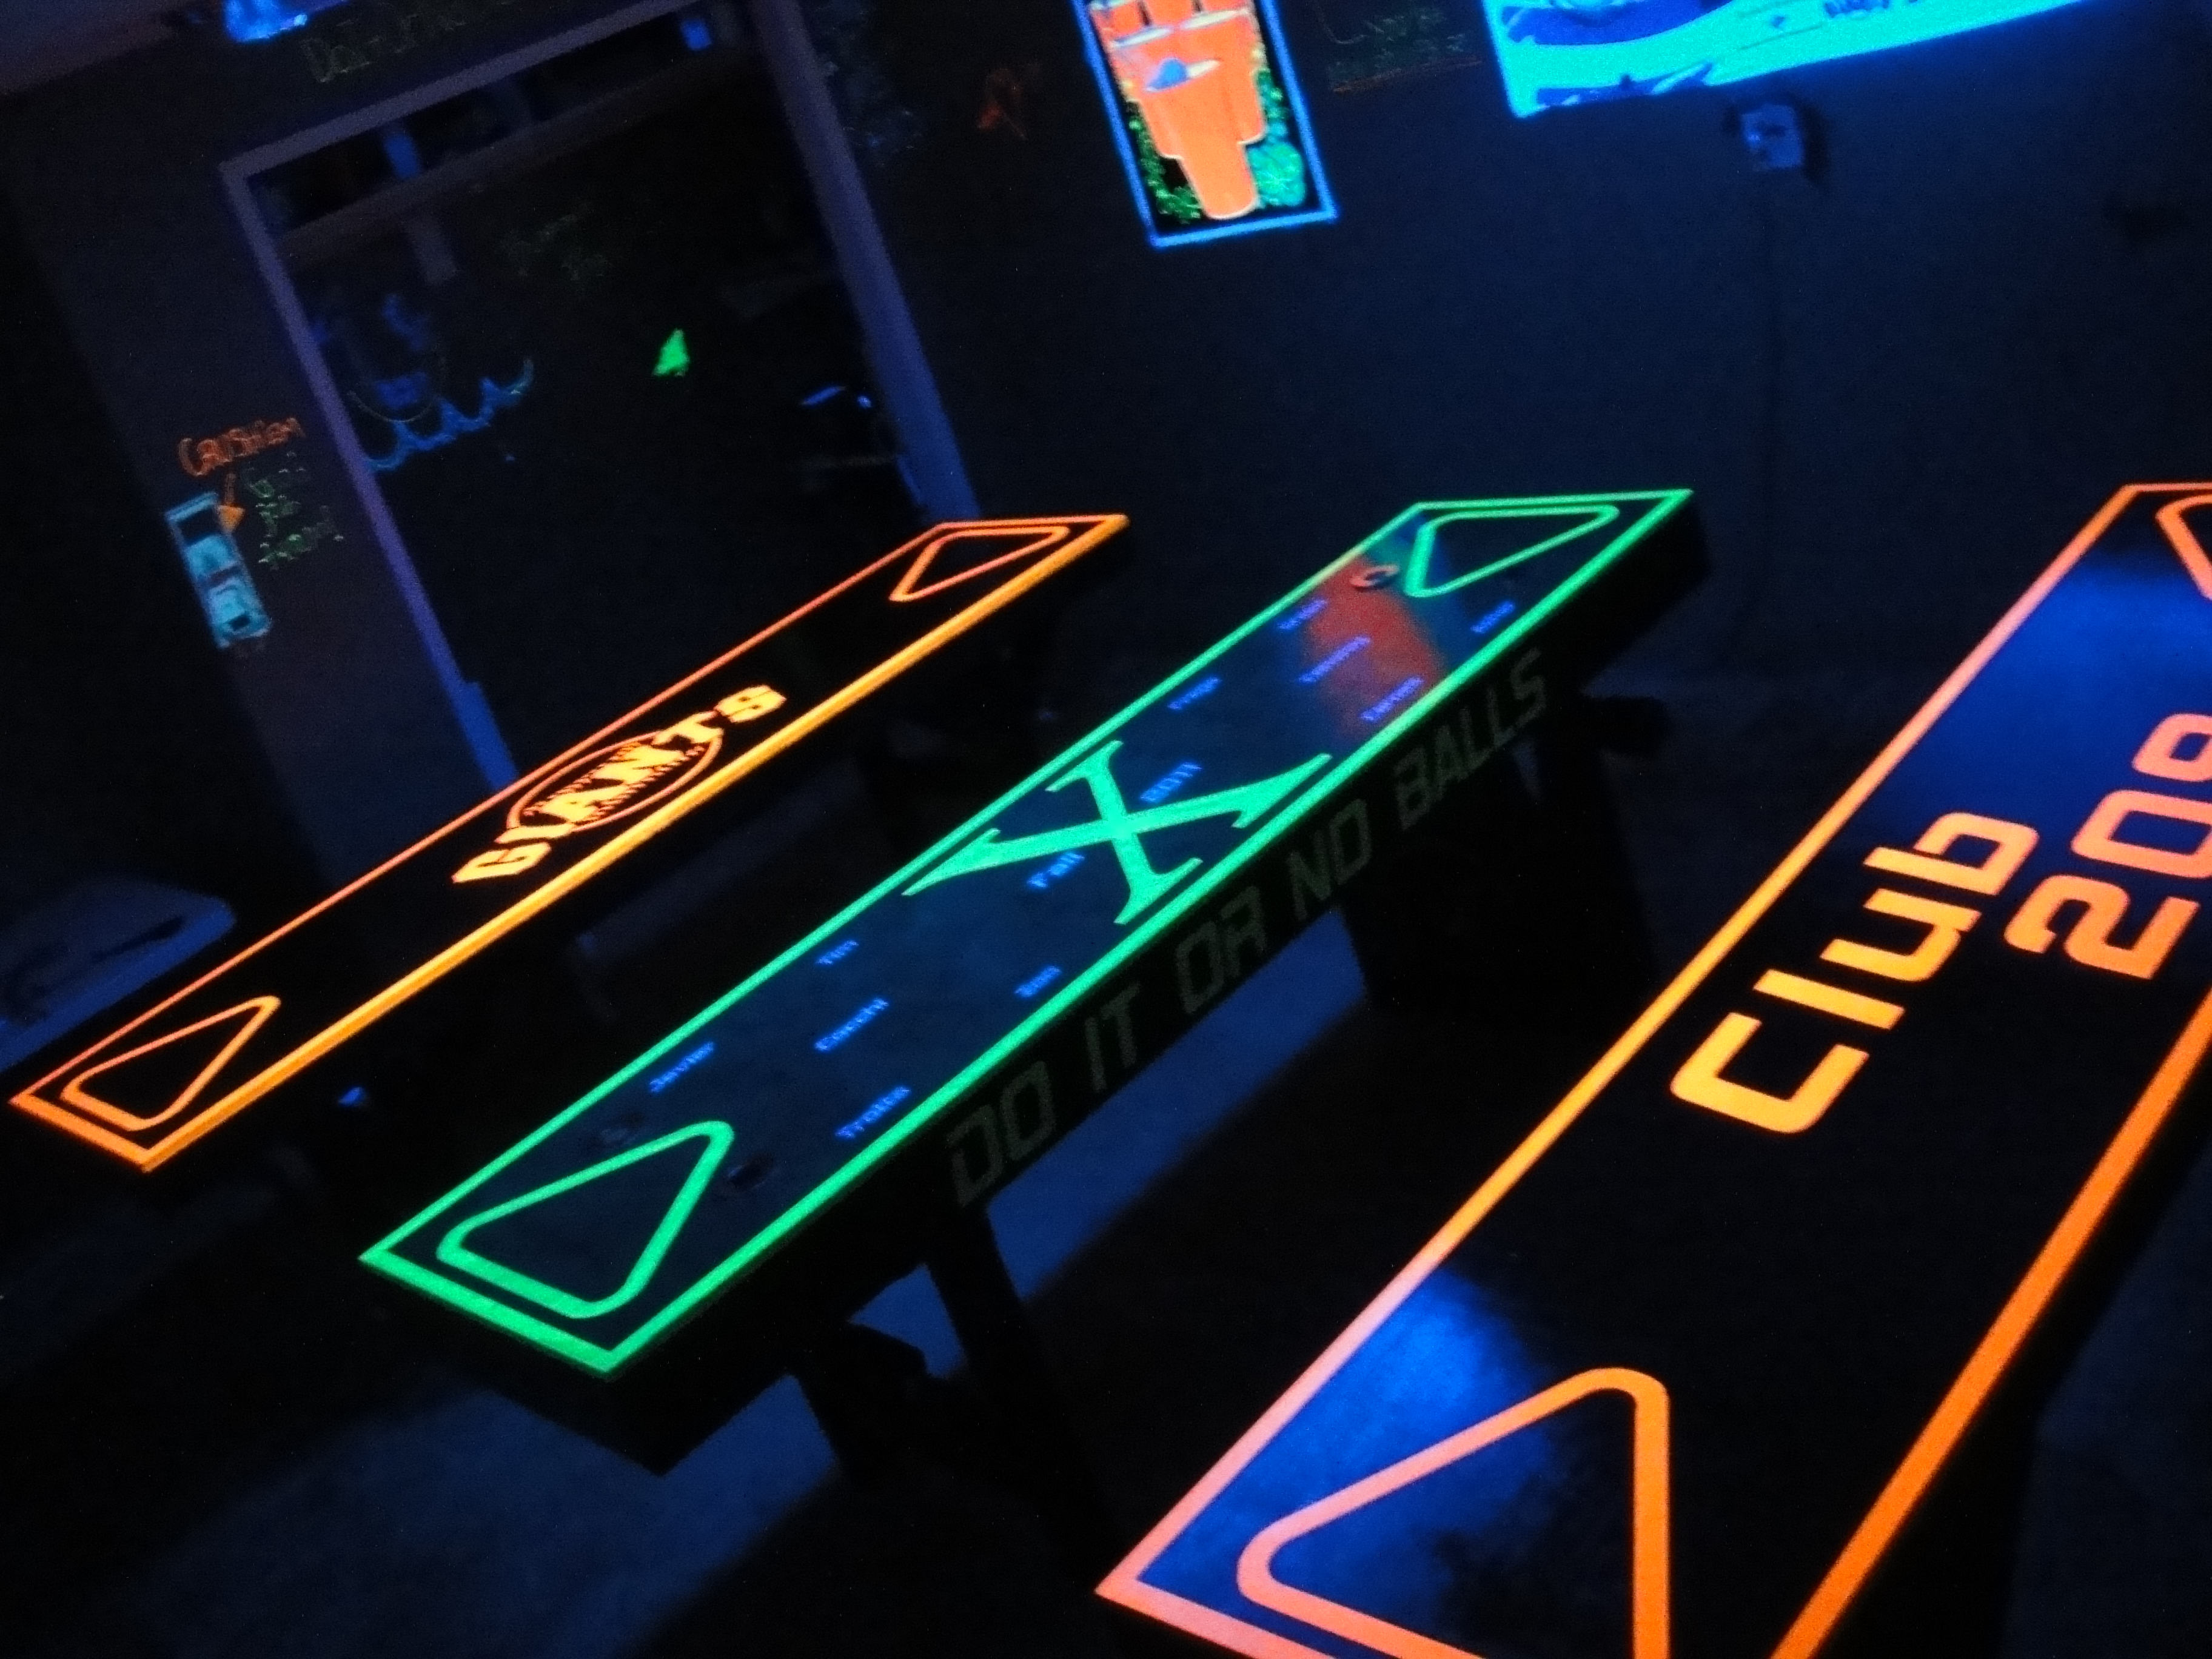
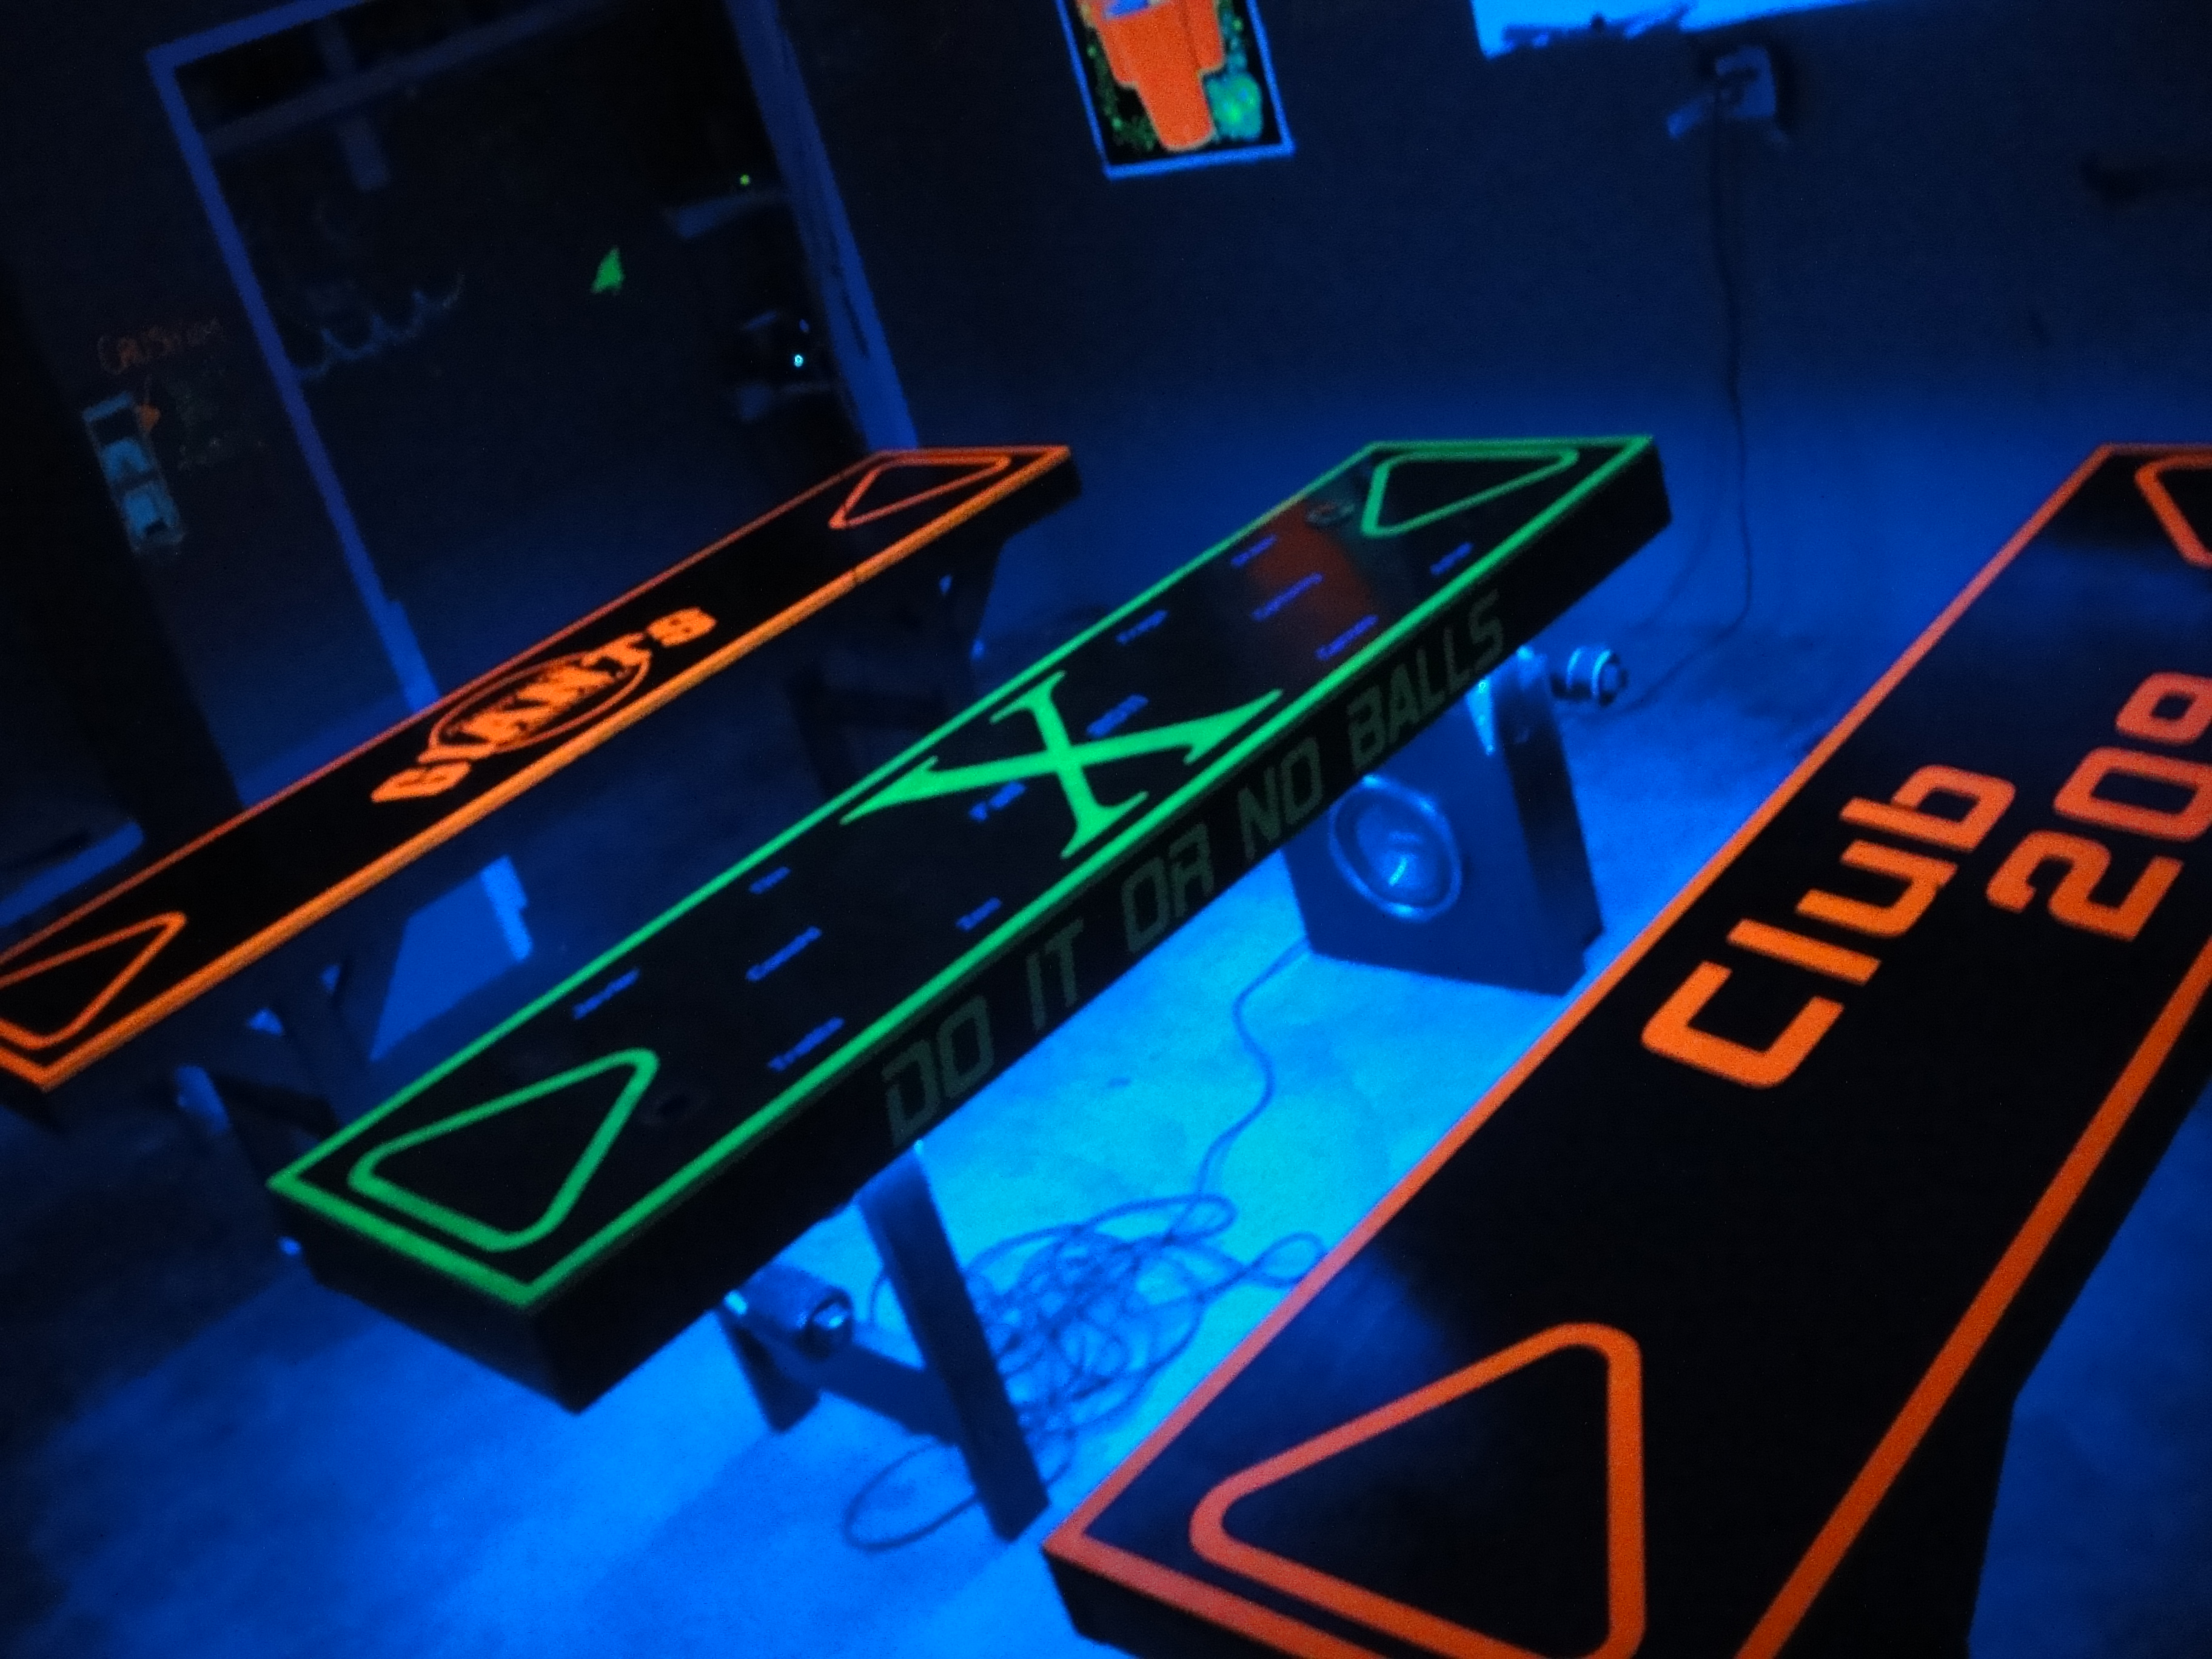
These are two other tables that we have also previously made.
And that’s about it. Thanks for checking out the page. All we ask is if you plan on using this design, is to like our FaceBook Page , and spread the word about DoItOrNoBalls.com
Thank You.

 Follow



67 thoughts on “Beer Pong Table Tutorial”